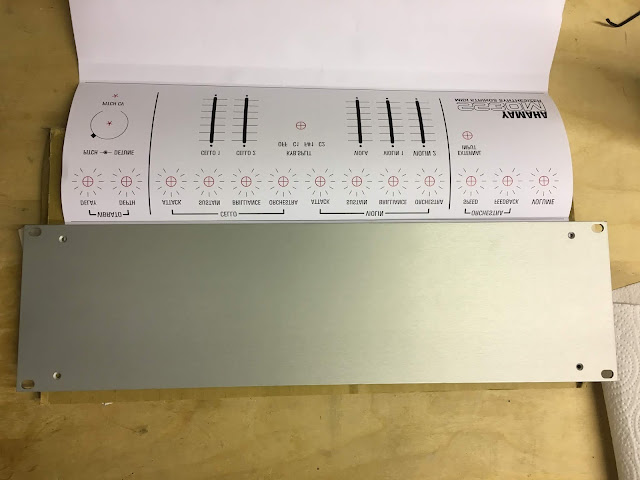
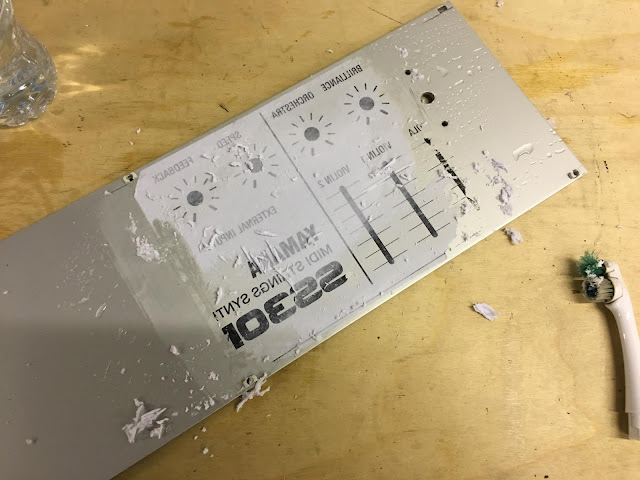
I started with a spare piece of aluminium panel and a print of my design (which I forgot to create as a mirror image first...).
After varnishing the metal and sticking the paper face down I waited for it to dry. Next it was matter of wetting the paper and removing it. Gently!
Not gently enough in my case.
 |
| Image mirrored |
Still, I had done enough to prove that I could layout a panel exactly as I needed it with labels etc. as well as marks for all the cuts in just the right places. This was particularly important for the slide potentiometers whose tiny 2mm mounting holes have to be located 'just so'.
I was confident I could do better next time and after a few more tweaks to the design I was ready to go.
 |
| Verorack panel |
 |
| Panel fitted to case |
 | |
| Panel with print aligned ready for varnish |
 | ||||
| Print folded over the varnished panel |
 |
| Gently does it... |
No matter how careful I though I was being, I still ended up removing too much ink. Part of the problem is that the Vero panel is brushed, textured finish, whereas the other piece was smooth.
Anyway, it was good enough and I got drilling!
One issue I noticed, soon after fitting the knobs, was that the slider caps do not sit quite right. There's a bit of wobble. I will have to deal with that at some point...
Once I was reasonably happy I sprayed a layer of matt varnish and refitted the components.
Note that for the Pitch control and the KYB. SPLIT controls I cut and reused the original SS-30 sub-panel plates to mount these controls at just the right depth.
And so, at long last I've brought the SS-30 indoors. The plan now is to wire up the panel in the comfort of my studio space. I've made some room in my rack and I'm all set!
 |
| Space for the SS-30M |


No comments :
Post a Comment